

The bathroom may appear tidy and clean, but it can also hide weeks of buildup. Soap film accumulates on shower walls, dirt accumulates on the floor behind the toilet, and water scratches dull the taps and grout fades away from its original color. A quick clean can improve the appearance of your shower, but it doesn’t always reach the edges, where grime resurfaces first.
If you’ve been asking how to thoroughly clean the bathroom, the answer is not about harder rubbing and more about completing the task in the proper sequence. Start by removing any loose residue, then clean from the highest surfaces to the lowest ones, and then leave the floor to dry until you’re done.
This checklist for deep cleaning your bathroom is designed specifically for the people who work full time in San Diego households that want an airy and clean space without losing a full day.
The best way to clean a bathroom begins with preparation
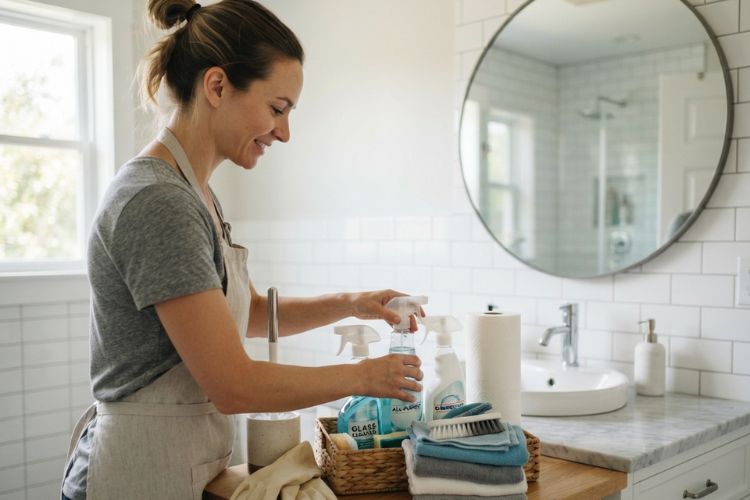
Take gloves, microfiber towels, as well as a non-scratch soft sponge, an old toothbrush, a toilet cleaning glass cleaner mop, disinfectant, and other products that are appropriate for your tile fixtures. The storage of all the supplies in one container helps prevent half-finished projects.
Don’t mix cleaning products, including bleach and ammonia-based products. It is advisable to open a door or run the exhaust fan when spraying. More powerful isn’t always better. A safe product for surfaces that remains at the suggested period of time is usually more effective than vigorous scrubbing.
Take away bath mats, towels, containers, toiletries, and other clutter on the countertop. Clearing the space exposes areas and corners which are typically not taken care of effectively.
Step 1: Remove Dry Dust First
Dust turns gray when water comes into contact with it. Start with the exhaust vent, lighting fittings, shelves, window ledges, as well as door frames, along with the top and sides of your mirror. Make use of a dry microfiber cloth or a vacuum attachment.
Go down to the baseboards and the area in the space behind your toilet. This opens the way to complete the rest of the bathroom’s deep cleaning checklist more easily since dust and hair aren’t dragged around the damp surfaces.
Step 2: Let the Shower and Tub Soak
Clean the walls of your shower, bathtub faucets, glass, and the tracks, using an appropriate cleaning agent. Allow it to dry for the period indicated on the label so that it will soften the soap film and mineral residue.
Begin high and work your way downwards. Use a non-scratch toothbrush for larger surfaces. Also, use an old toothbrush on tap bases as well as corners, grout lines, and door tracks. Rinse thoroughly so that the loosened debris doesn’t dry on the surface.
Shower glass that is cloudy should undergo the same procedure in lieu of using a rough abrasive. A temporary stain is much easier to deal with and is less damaging than permanent scratches.
Step 3: Reset the Sink and Vanity
The vanity is a collection of toothpaste, hair soap, makeup, and even fingerprints. Get rid of everything on your counter, including the bottles you typically wipe down.
Clean the faucet, basin handles, backsplash edges of counters, as well as the area under the faucet. Clean the cabinet fronts and drawer pulls. Then, polish the mirror using an unwashed, dry, clean cloth. A damp cloth full of cleaner usually leaves streaks.
If you find that the detailed buildup continues to come back faster than you can deal with the task, hiring a house cleaner might be more beneficial than spending another weekend finishing the work.
Step 4: Clean the Toilet in the Right Order
Put bowl cleaner under the rim, and allow it to rest while you wash the outside. Start by flushing the controller and then work your way towards the seat, lid hinges, the outer bowl, and the base.
Keep toilet tissue separate from the ones used elsewhere. Then, scrub the bowl with a focus on the waterline and rim. Clean the toilet brush’s handle and the holder.
The most effective method of cleaning the bathroom is to shift from clean surfaces to dirty ones. This prevents cross-contamination and prevents your progress from becoming undone.
Step 5: Restore Grout and Forgotten Details
The grout lines, sealant, drain covers, joints, and tub corners could make the entire space look tired. Use a grout-safe material and let it sit for a while, then scrub it off using a fine brush.
Find cracked sealants and grout that is missing or dark marks that return rapidly. Cleaning helps remove dirt from the surface; however, it is not able to repair damaged material or address the ongoing moisture issue. Staining that is repeated may require maintenance, but not as much as more aggressive chemical solutions.
Professional bathroom cleaning services can assist when the buildup covers large areas or the bathroom requires cleaning before guests arrive, a move day, or an inspection of the property.
Step 6: Disinfect High-Touch Surfaces
Switches, door handles, faucet handles, cabinet pulls, and toilet controls are in regular contact, yet are often overlooked. Clean the area first and then apply disinfectant in accordance with the directions on its label.
Disinfectants must remain in contact for the stated duration. Wiping and spraying immediately can hinder effectiveness. Make these little surfaces part of your bathroom’s checklist of deep cleaning to ensure they are done regularly.
Step 7: Close by putting the floor on
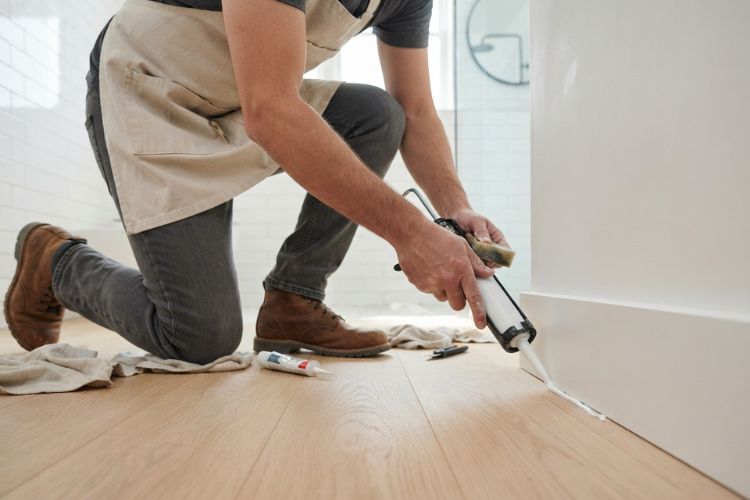
Vacuum or sweep around the vanity, toilet corners, and in the area behind the door. Hair accumulates in these areas and is difficult to get rid of after it has gotten wet.
Mop starting from the corner towards the doorway. Only use the recommended amount of cleaner, as the excess cleaner can leave a sticky residue which attracts new dirt. The floor should be dry prior to returning bins and mats.
Make the Deep Clean Last Longer
Clean the shower glass after each shower, rinse toothpaste out of the sink, place towels so that they will dry, and then run the exhaust fan both during the shower and afterward. These little steps can reduce the odor, residue, and buildup of moisture.
Make sure the counter is clean. Fewer containers means fewer dusty rings, spills, and unwieldy edges. Resetting for five minutes each week may delay the next complete clean.
Frequently Asked Questions
When should I clean the bathroom?
Every 4 to 6 weeks can be an ideal start for most households. Bathrooms that are shared with family members and those that are not ventilated may require regular attention.
Could vinegar be applied to clean every bathroom area?
No. Acidic cleaners could damage natural stone as well as certain finishes. Be sure to read the instructions on how to care for your countertop, tile, fixtures, and grout prior to making use of vinegar.
Why does the bathroom stink after having cleaned?
Odors could persist in damp mats, drains, towels and bins, toilet brush holders, or in poorly ventilated corners. If the smell is recurring fast, look for a moisture or plumbing issue.
How do I deep clean a bathroom?
Dry the wet surfaces, take off loose hairs, wash the sink frequently, and make sure the floor stays clean. Small, frequent resets need much less effort than heavy daily cleaning.